So, Your Toilet Flushes Itself!
I am not a plumber, just a keen handyman, so this is literally a simple novice’s guide to help you.
Our new Persimmon homes all come fitted with 3 toilets, which is nice, but when they go wrong, and they will, it’s a struggle to even find out who manufactured them.
The low level design with the cistern directly onto the pan is known as ‘Close Coupled’ and you may find very fine writing around the push button that says a name such as ‘Ideal Standard’. Only one of mine had this and it was hard to find as Stewarts Plumbers (Persimmon’s Plumbing agent) had replaced two pushbuttons. NOTE: It is worth checking the inner button is square over the 2 flush valve plungers to give the part and full flush, as they are round buttons and can rotate out of position if the fixings come undone.
There are two flushing problems that occur:
- Silent, free running water into the bowl
- Self flushing (with hissing noise)
With any problem / emergency with your plumbing, look under the back of the toilet to the water inlet pipe and you will see a metal valve with a screw head in the centre. The screw head will be in line, so use a slotted screwdriver to rotate it to vertical and the water supply will be cut off. Test by flushing and the cistern should empty and not re-fill.
Take the toilet lid off and you will see it’s empty and don’t forget this is the CLEAN WATER, so there won’t be anything nasty in there except a bit of waterscale (white powder) or black mould (scrub off or use bleach).
- Fixing Free Running Water Into Toilet Bowl
This problem is caused by the seal from the centre flush letting water leak through from the cistern and over a few months could literally add hundreds of pounds to your metered water bill if you are unaware of it, especially with 3 toilets! It’s like having 3 running taps on all day and night.
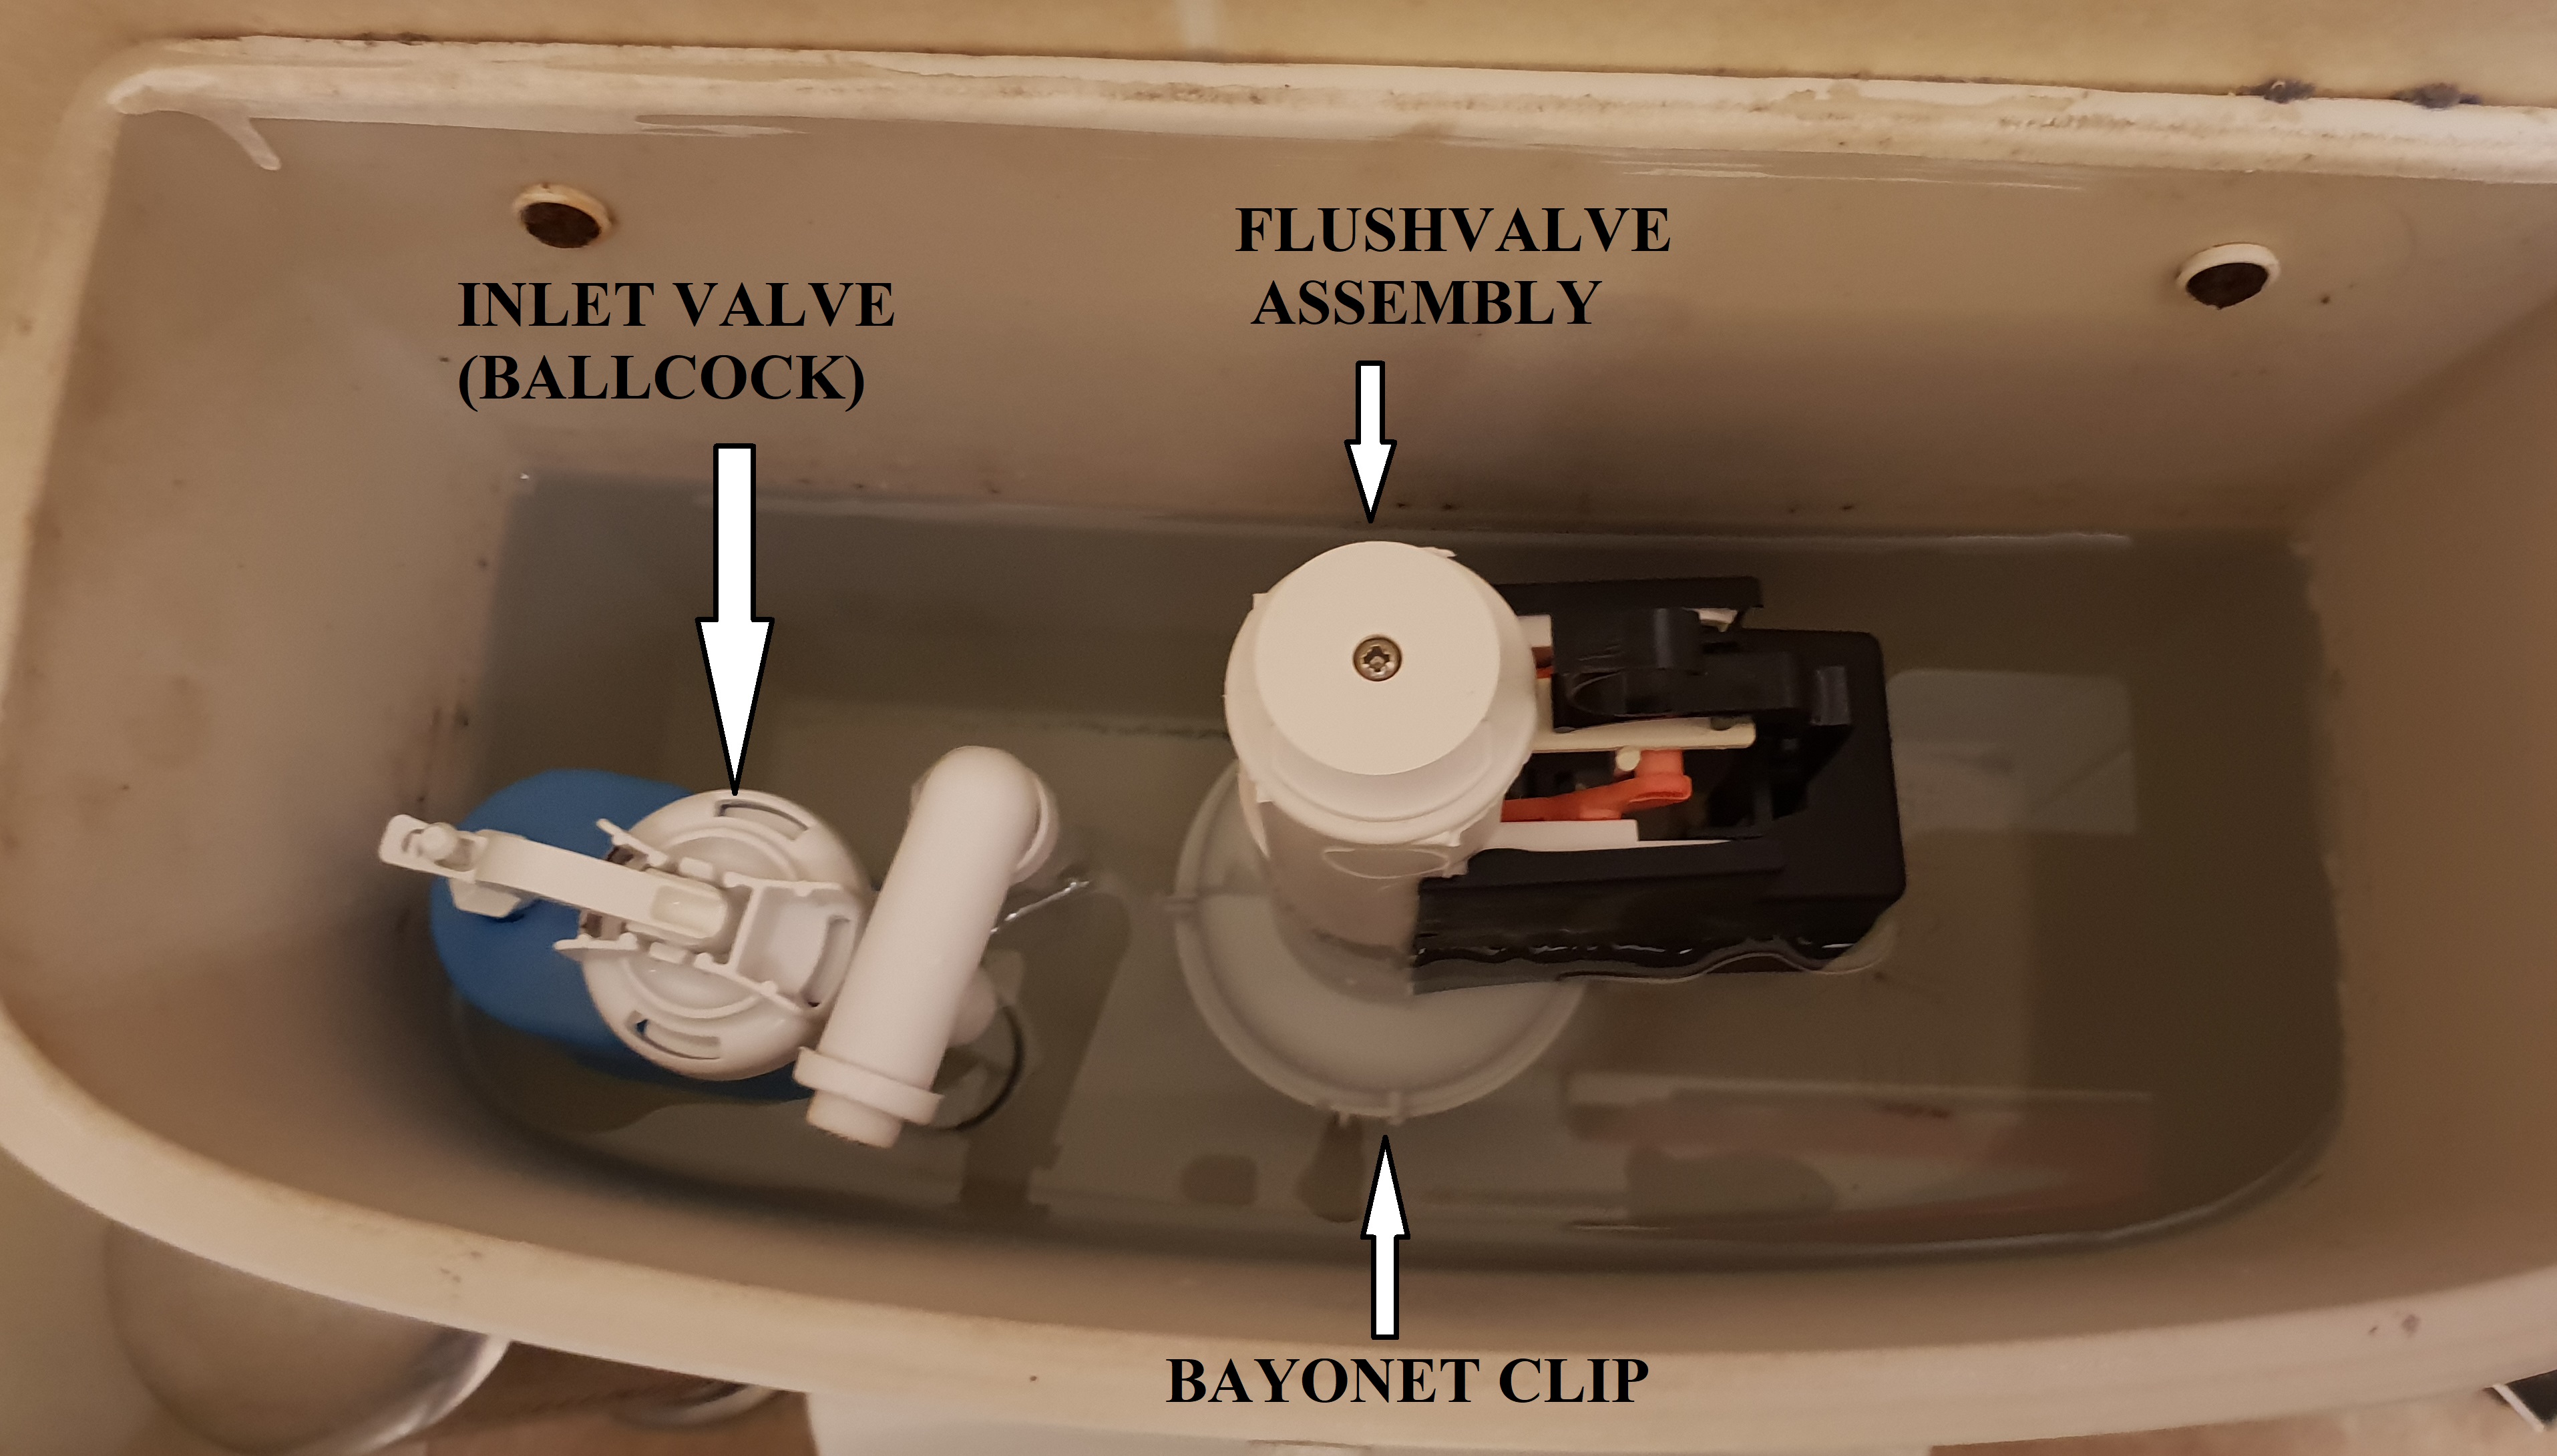
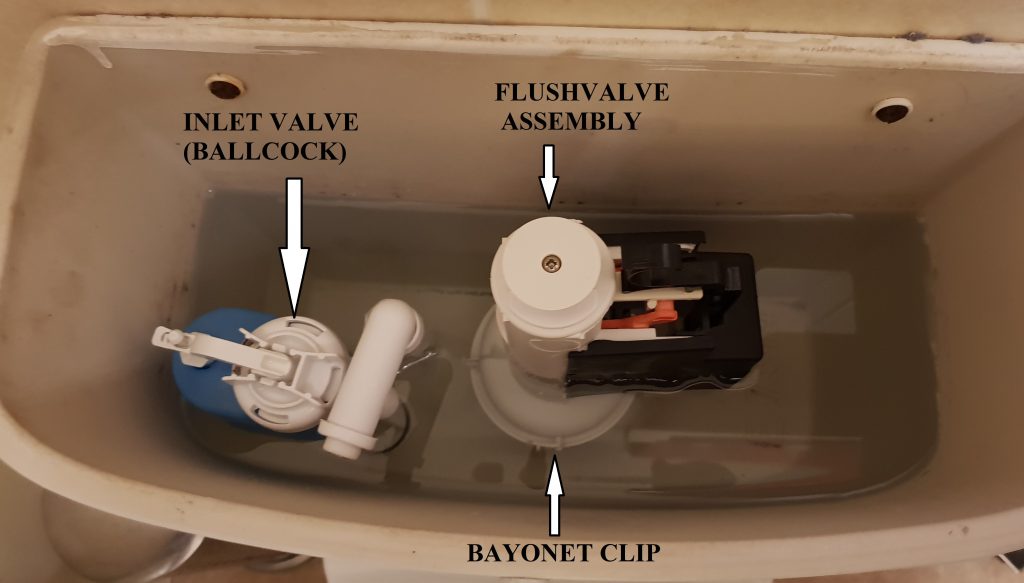
If you look inside the cistern at the white centre cylinder assembly, called the Flushvalve, you may note it is fitted with a simple bayonet fitting visible on the outer base section.
This is just like a light bulb fitting, so just press down quite hard on the top (this is the inner flush assembly and has to depress too) and then rotate the whole body anti-clockwise.
I found using the black box section as a handle gives enough leverage to be gentle but firm and not damage anything.
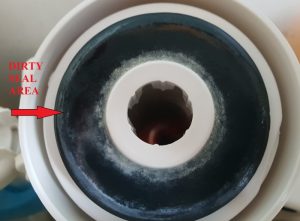
Then, like magic the whole flushvalve assembly comes away in your hand. Turn it over (above the cistern as it will still have water inside its mechanism) and you will see the base has a large, black, plunger style, rubber sealing ring.
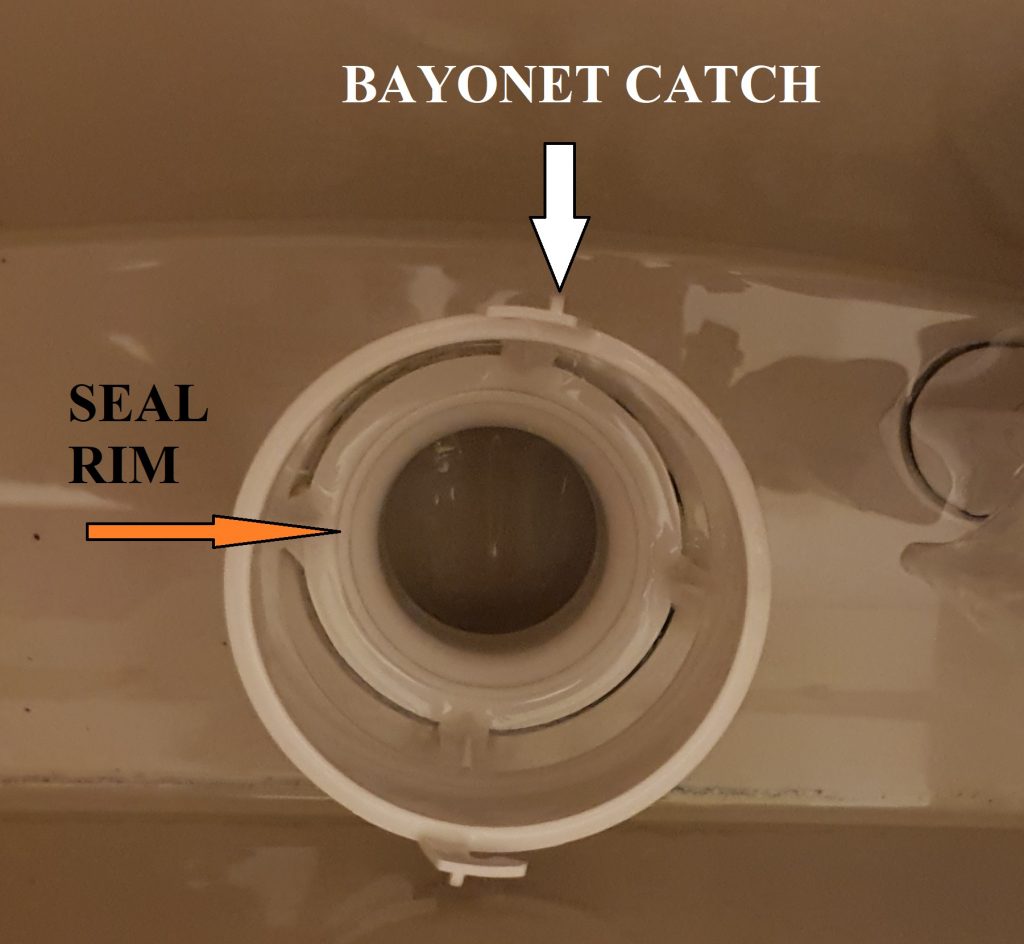
If you then look down the plastic cradle you have removed the flusher from you will see straight down a hole and the circular plastic cradle ring has a fine raised plastic ring on it. This should now be carefully wiped or scrubbed with a light brush until perfectly clean as this is the actual seat for the seal.
The rubber sealing ring will have a matching diameter ring of white limescale/scum on it, near the outer edge and this is the actual rubber sealing contact area for the plunger.
If you are lucky a good scrub with a nylon brush and some soap may get this all perfectly clean. I boiled up a bowl of water and stood the cylinder seal end down in it for 5 minutes as this may help the rubber seal recover its elasticity.
At this point it is worth refitting the cylinder, turning the water back on and test flushing the system, this often works with dirty, unworn seals and is good maintenance to do.
TIP TO TEST IF THE RUNNING HAS STOPPED:
Simply test flush 2 or 3 times, then leave it a few minutes.
Then place a sheet of dry toilet paper under the flush area and see if it stays dry or a run of water appears on it. This shows up leaking toilets you have not even noticed are lightly free-running yet! (Yes, all 3 of mine had varying size leaks!)
Changing The Flushvalve Seal
I simply removed the complete flushvalve assembly and took it to Coventry Plumbing & Heating Services (Corner of Charter Ave / Curriers Close) and they supplied me with a SV01967 Flushvalve Seal and Clip kit for £6.17 and the comment “ I bet you’re from Bannerbrook, we sell loads to you guys up there!”
The black plunger seal is held in the cylinder’s base tube with a white circular, plastic, push-in spring collar / clip.
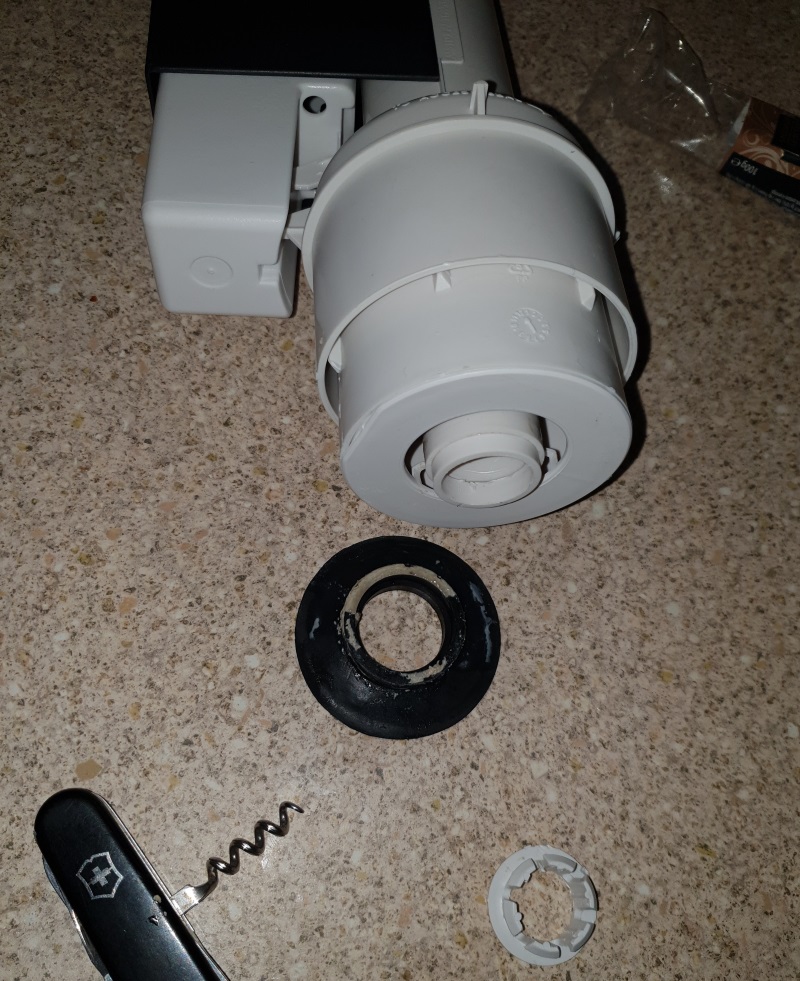
The seal’s fitting instructions say to remove this clip with a screwdriver, which didn’t work, but my Swiss Army knife has a corkscrew and hooking this under the clip prong allowed a sharp pull to pop it out neatly without any damage.
The seal then simply pulls off a locator ring and the new one is pushed on in the same position until flush with the tube neck. The new clip then easily pushes into the tube and clicks into place. Rotate the seal to make sure it’s seated properly and re-fit into the cistern. Water on, test flush and you can paper test it again to see it has perfectly sealed, like magic!!
This whole replacement took about 5 minutes maximum!
- Fixing A Self Flushing Ballcock Valve
This problem can firstly be caused by the plastic float arm mechanism seen on the left simply sticking, so check the float valve (blue plastic float) can move up and down freely. Scrub any mould off the blue cap as this can make it stick and I found that applying a blob of liquid soap to the lid can help lubricate it to prevent the plastic sticking. If the self flushing noise goes away, job done and just be sure to clean the cap regularly.
If this does not work, the ballvalve cap removes with the same type of bayonet, push-and-turn fitting.
Double check the water is turned off or you will get wet this time as this is the filling mechanism, not the emptying valve.
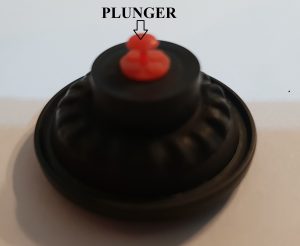
Once the blue cap is removed, turn it over and the rubber seal cap can be pulled out of it.
You will note that this is a thin, cup seal that can perish or tear easily and it also has a moving plunger in the centre which can bend or break.
This seal is available from Coventry Plumbing in a kit SV90167 Inlet Valve Servicing Kit, again priced at around £7.00. There are other parts, but this seal is the important bit. The seal looked plain compared with the one I removed that had lots of grooves in it, but it worked just fine. It simply inserted into the white plastic cap, rotate to seat it and then carefully replace the whole cap assembly squarely to the body. Make sure the tiny plunger does not bend or stick!
The float arm can be disconnected and be put back as it is a simple twist off, ball and socket design all quite simple stuff, but the seal can be replaced in about 30 seconds without float arm removal.
Then turn the water back on and test it flushes and refills correctly. If it doesn’t work, strip down and reseat it again. That is it, all of the simple seal replacements done!
The float can be adjusted by turning the hex nut to wind it up and down and if you look carefully the cistern has a faint fill mark cast into, or printed on the back wall of the cistern to advise of fill minimum and maximum levels.
NOTE: Be careful not to let the cistern overfill or it will internally overflow through the Flushvalve into the pan and will create a freerunning flow again!!.
And that is all there is to it, its really easy to do, cheap for parts and the plumber’s supply merchant is within a 5 minute drive of our estate.
Just remember to turn the water valve to off before you start and back on when you finish. If you want the cistern to fill up slow and silent, just turn the valve in increments to as far as you want to supress the water pressure and it will be quieter on refill, but will take a bit longer to recharge with a full tank.